
Introduction
A broken oven door glass is not just an inconvenience; it can also be a safety hazard. Knowing how to repair oven with broken door glass — complete guide (2025) ensures that your kitchen remains functional and safe without the need for costly replacements. Whether the glass cracked during cooking or due to accidental impact, understanding the repair process helps save time, money, and potential injuries. This guide walks you through step-by-step instructions, safety precautions, and expert tips to restore your oven’s functionality.
Understanding the Oven Door Structure
Before starting the repair, it’s essential to understand how an oven door is built. Most modern ovens have double or triple-layer glass panels. The outer layer is usually tempered glass, designed to resist heat, while the inner layers provide insulation. Some ovens have removable panels for easier maintenance, while others require more careful disassembly.
Knowing your oven’s model and door type is crucial. Check the user manual or manufacturer’s website to find whether the glass is a single unit or part of a multi-layer assembly. This step ensures you purchase the correct replacement glass and avoid unnecessary mistakes.
Safety First: Precautions Before Repair
Repairing an oven door glass can be dangerous if proper safety measures aren’t followed. Here’s what you should do before starting:
Turn Off Power and Gas Supply
Always disconnect the oven from electricity or gas. Even small residual current can cause electric shocks. If your oven is gas-powered, turn off the gas supply to prevent leaks.
Wear Protective Gear
Broken glass is extremely sharp. Use heavy-duty gloves and protective eyewear. A long-sleeved shirt is recommended to protect your arms from cuts.
Work in a Clear Space
Move the oven to an area with enough room to lay down tools and parts safely. Keep children and pets away during the repair process.
Tools and Materials You’ll Need
Having the right tools makes the repair process faster and safer. For most ovens, you will need:
-
Replacement oven glass compatible with your model
-
Screwdrivers (Phillips and flathead)
-
Putty knife or similar prying tool
-
Gloves and safety goggles
-
Adhesive or heat-resistant silicone (if required)
It’s important to buy genuine or OEM replacement glass to ensure safety and longevity. Generic glass might not withstand high temperatures.
Step-by-Step Oven Door Glass Repair
Learning how to repair oven with broken door glass involves carefully following these steps. Rushing can cause more damage or injuries.
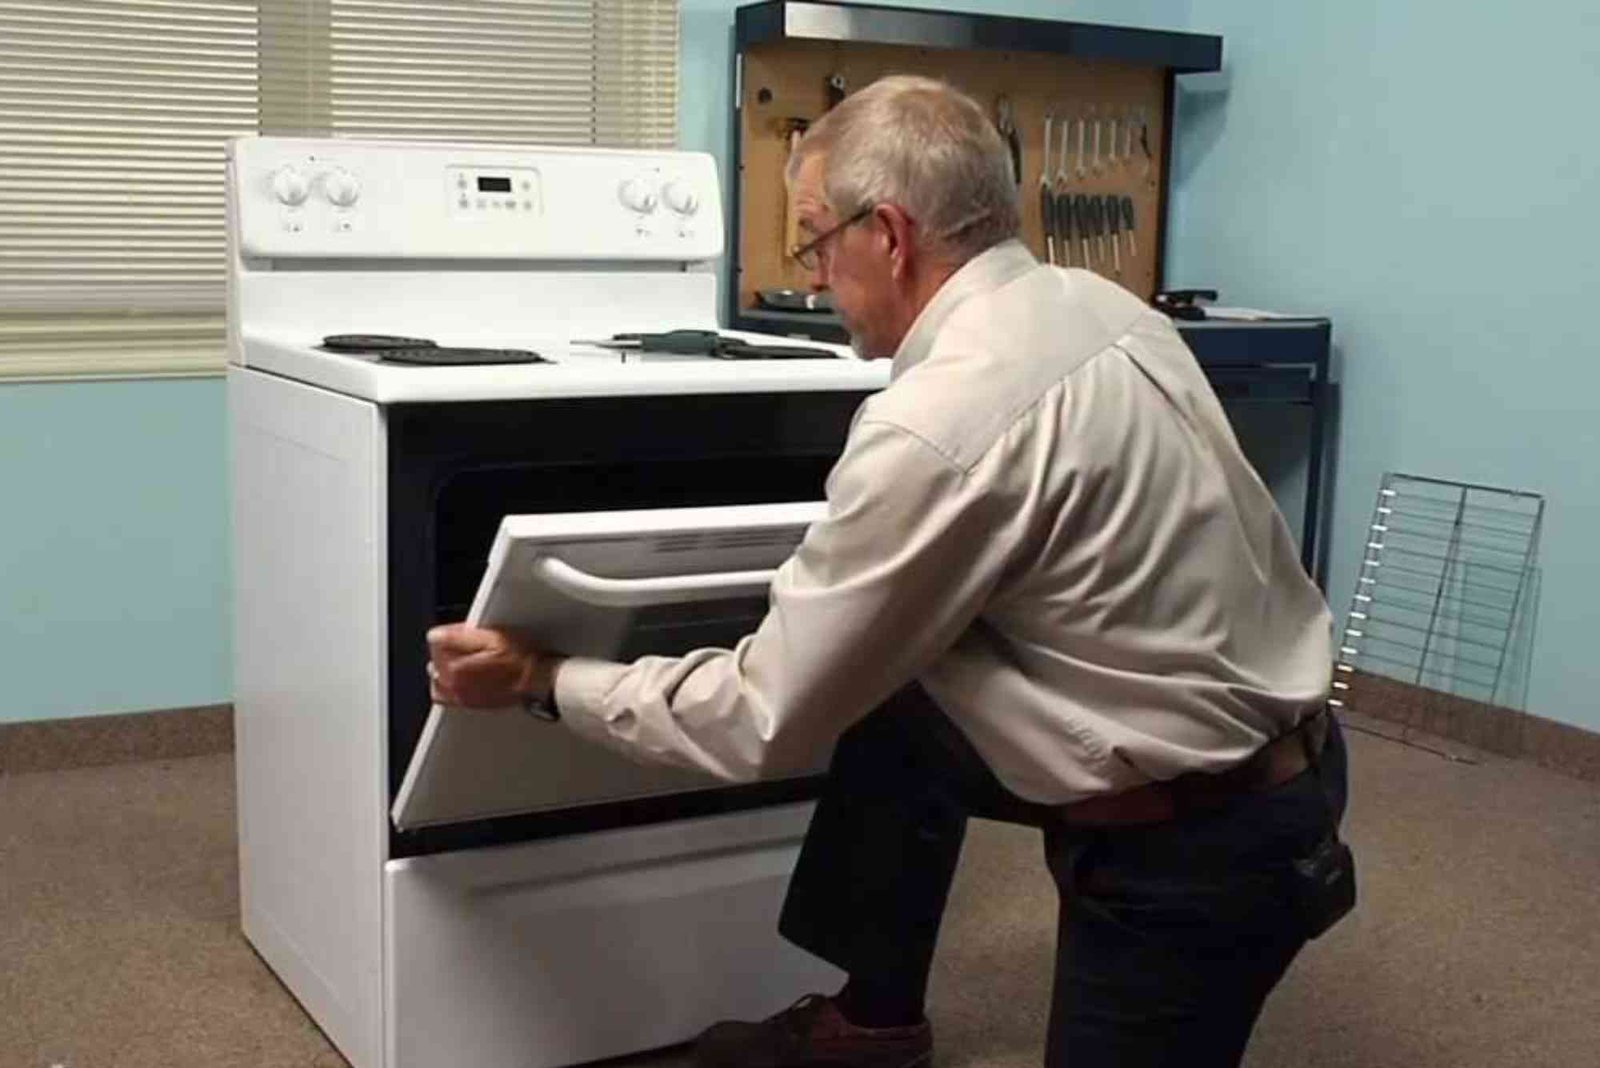
Remove the Oven Door
Start by removing the oven door from its hinges. Most doors have hinge locks or screws near the hinge that need to be loosened. Place the door on a flat, stable surface with a soft towel underneath to prevent further damage.
Disassemble the Door Panels
Most oven doors have multiple layers held together with screws or clips. Carefully remove screws along the edges and keep them organized. Slowly separate the door frame to access the broken glass. Avoid bending or twisting the metal frame.
Remove Broken Glass
Wearing gloves, gently lift the broken glass from the door. If pieces are stuck, use a putty knife to pry them loose carefully. Make sure all shards are removed to prevent injuries during reassembly.
Clean the Door Frame
After removing the broken glass, clean the door frame thoroughly. Remove old adhesive, dust, and dirt using a damp cloth. A clean surface ensures the replacement glass fits snugly and adhesive bonds properly.
Install Replacement Glass
Place the new oven glass into the door frame. Ensure it fits correctly and aligns with the frame edges. If your oven requires adhesive or silicone, apply a thin, heat-resistant layer around the edges. Press the glass gently but firmly.
Reassemble the Door
Once the replacement glass is secure, reassemble the door panels. Tighten screws evenly to avoid warping the frame. Make sure all clips or fasteners are locked in place. The door should be stable and flush with the oven frame.
Reattach the Door to the Oven
Carefully lift the door and place it back onto the oven hinges. Lock the hinges or screws, ensuring the door opens and closes smoothly. Test for any loose parts or rattling.
Test Your Oven
Before cooking, power the oven and test it at low temperature. Observe if the door holds heat and if the glass remains stable. Once confirmed, your oven is ready for regular use.
Common Challenges During Oven Glass Repair
Even with proper instructions, you may encounter issues. Understanding these challenges helps prevent mistakes:
-
Glass Misalignment: Ensure the glass sits evenly in the frame to prevent heat leakage.
-
Stubborn Screws: Apply penetrating oil to loosen screws stuck due to rust or residue.
-
Incorrect Replacement Glass: Double-check your model before purchasing. Ill-fitting glass can be dangerous.
-
Damaged Frame: If the door frame is bent or broken, professional replacement may be required.
Maintenance Tips After Repair
Maintaining your oven door after glass replacement prolongs its lifespan and prevents accidents:
-
Avoid slamming the door; tempered glass can crack under impact.
-
Clean with non-abrasive solutions to prevent scratching.
-
Inspect seals regularly to maintain heat efficiency.
-
Check screws and hinges periodically for tightness.
For more detailed insights, you can learn about how to repair oven with broken door glass at this link.
When to Call a Professional
Some situations require professional assistance. Contact an expert if:
-
The oven frame is severely bent or damaged.
-
You’re unsure about electrical or gas disconnection.
-
The replacement glass is not fitting properly.
Professional technicians can ensure safety and proper installation. You can also explore related home & decoration resources here for guidance on home repairs and upgrades.
Advantages of DIY Oven Glass Repair
Repairing the oven glass yourself offers several benefits:
-
Cost-effective compared to hiring a technician.
-
Quick turnaround; no waiting for service appointments.
-
Satisfaction of completing a safe and functional repair.
However, always weigh DIY repairs against safety risks, especially for gas-powered or high-end ovens. Trusted platforms like Houzz provide community tips and expert advice for similar repairs here.
(FAQ)
Can I replace the oven glass myself?
Yes, with proper tools and safety measures, most DIY enthusiasts can replace oven glass. Always follow the manufacturer’s instructions.
How much does it cost to replace oven door glass?
The cost varies by oven brand and model. On average, replacement glass can cost between $50 to $150. Professional installation adds labor charges.
Is it safe to use a cracked oven glass?
Using a cracked oven glass is unsafe. Heat can worsen the crack, potentially causing burns or shattered glass. Immediate replacement is recommended.
How long does it take to repair an oven door glass?
A typical DIY repair takes 1–2 hours, depending on experience and door complexity. Professional services may take less time with guaranteed results.
Where can I buy replacement oven glass?
Replacement glass is available through manufacturer websites, appliance stores, or online marketplaces. Ensure it matches your oven model for safety.
Repairing a broken oven door glass may seem daunting, but with careful preparation and the right steps, it is entirely manageable. Following this How To Repair Oven With Broken Door Glass — Complete Guide (2025) ensures safety, efficiency, and a restored kitchen appliance. Remember to prioritize safety, use genuine parts, and test your oven thoroughly after repair.
Take control of your kitchen maintenance today and restore your oven to its full functionality. For further guidance, check out professional recommendations on Houzz and explore related home & decoration resources to enhance your DIY skills. Start your repair confidently and enjoy a safe, fully functioning oven.